Create an Event
ComplyAssistant's Event function allows you to capture incidents, issues, and complaints consistently. You can also receive guidance on whether the incident is a breach and needs to be reported.
Follow these steps to create an event:
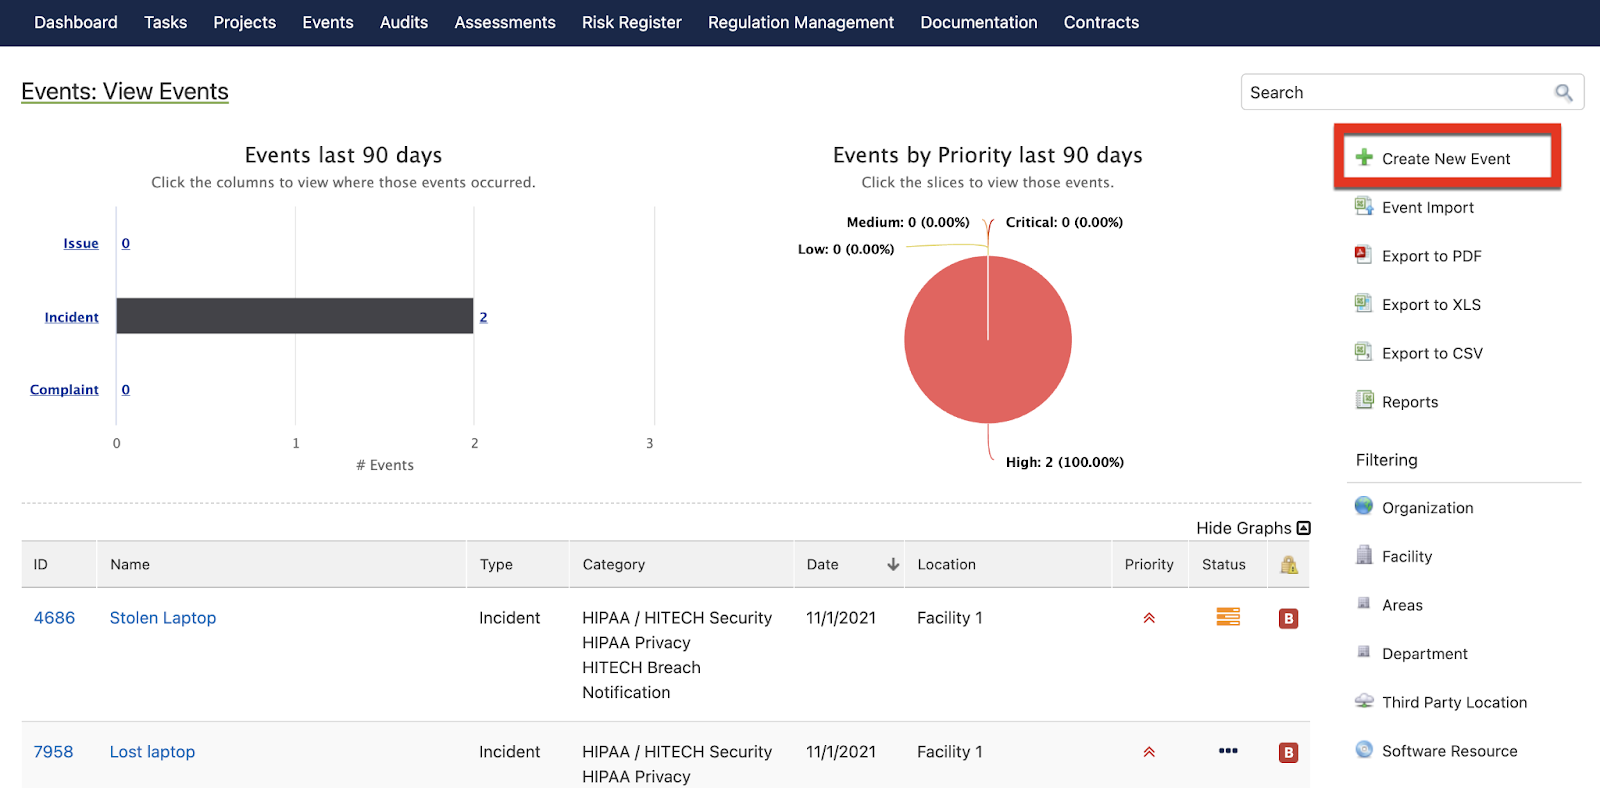
Click Events in the main header.
Click + Create New Event in the upper-right corner.
Type in a Name for the event, such as “Stolen Laptop”.
- Choose an Event Type. You can either choose an Issue, Incident, or Complaint. To add a new event type, click on + Add New Event Type.

It is not possible to add questions to a question library that is System defined.
- Choose a Priority.
- Choose one or more compliance Categories. Optionally, add one or more Subcategories.
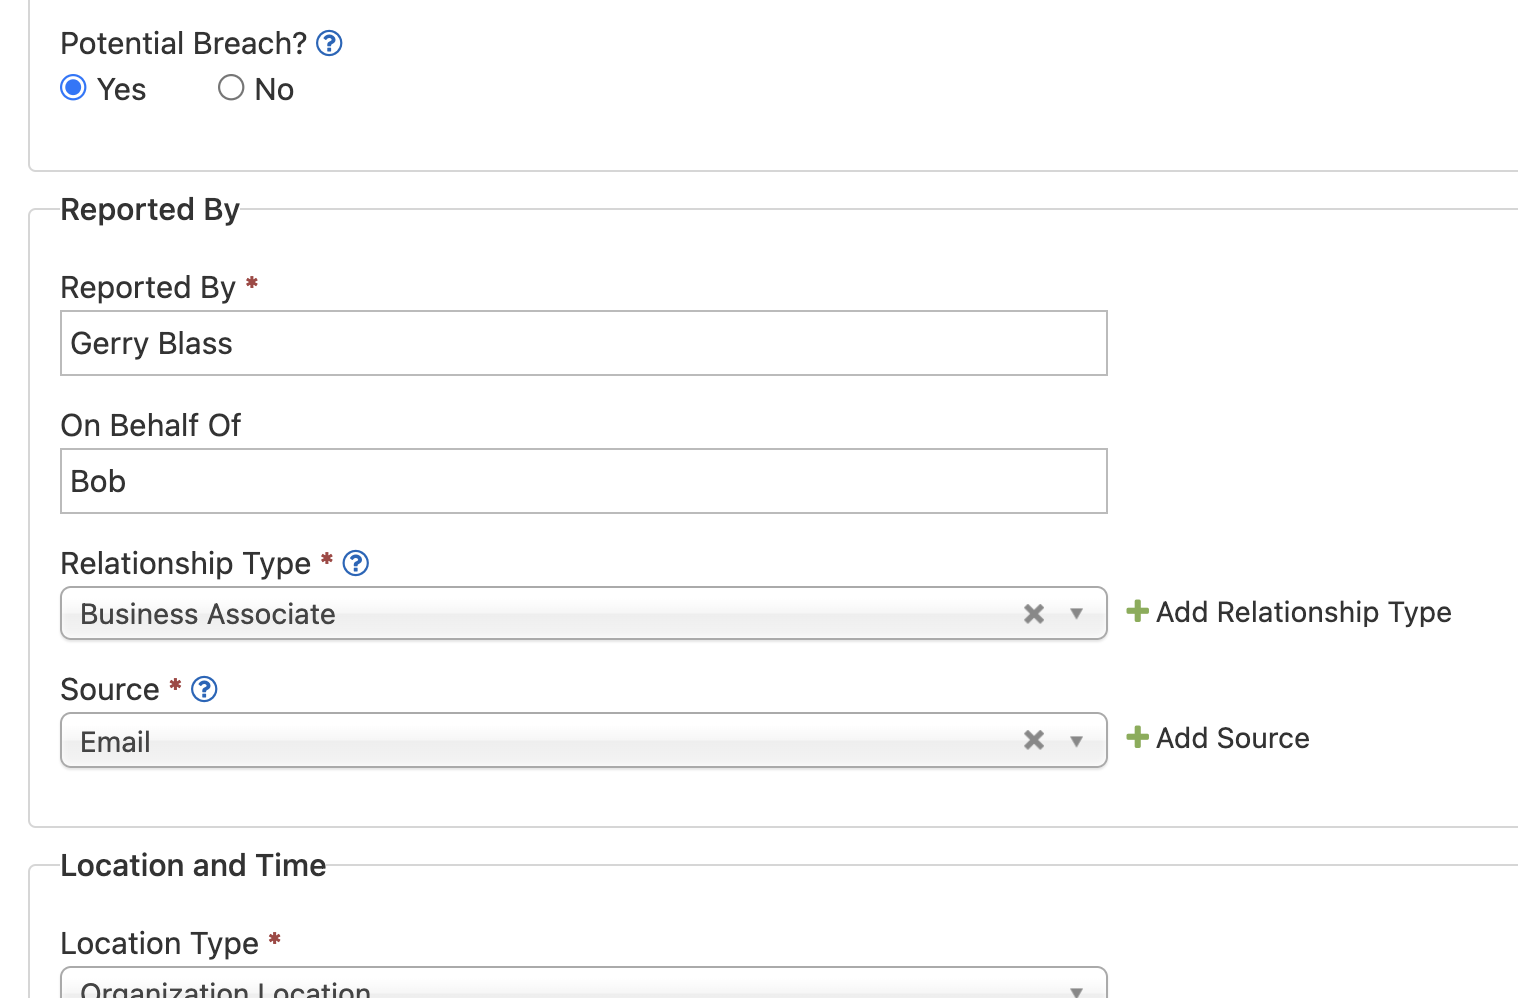
- Check the correct option to indicate if this is a Potential Breach.
It is not possible to add questions to a question library that is System defined.
- Add whom the event is Reported By.
- Optionally, describe if the event was reported On Behalf Of someone else.
- Choose the Relationship Type of the reporter to the organization.
- Describe the Source through which the event was reported. If necessary, click the + Add Source link to add a new source type.
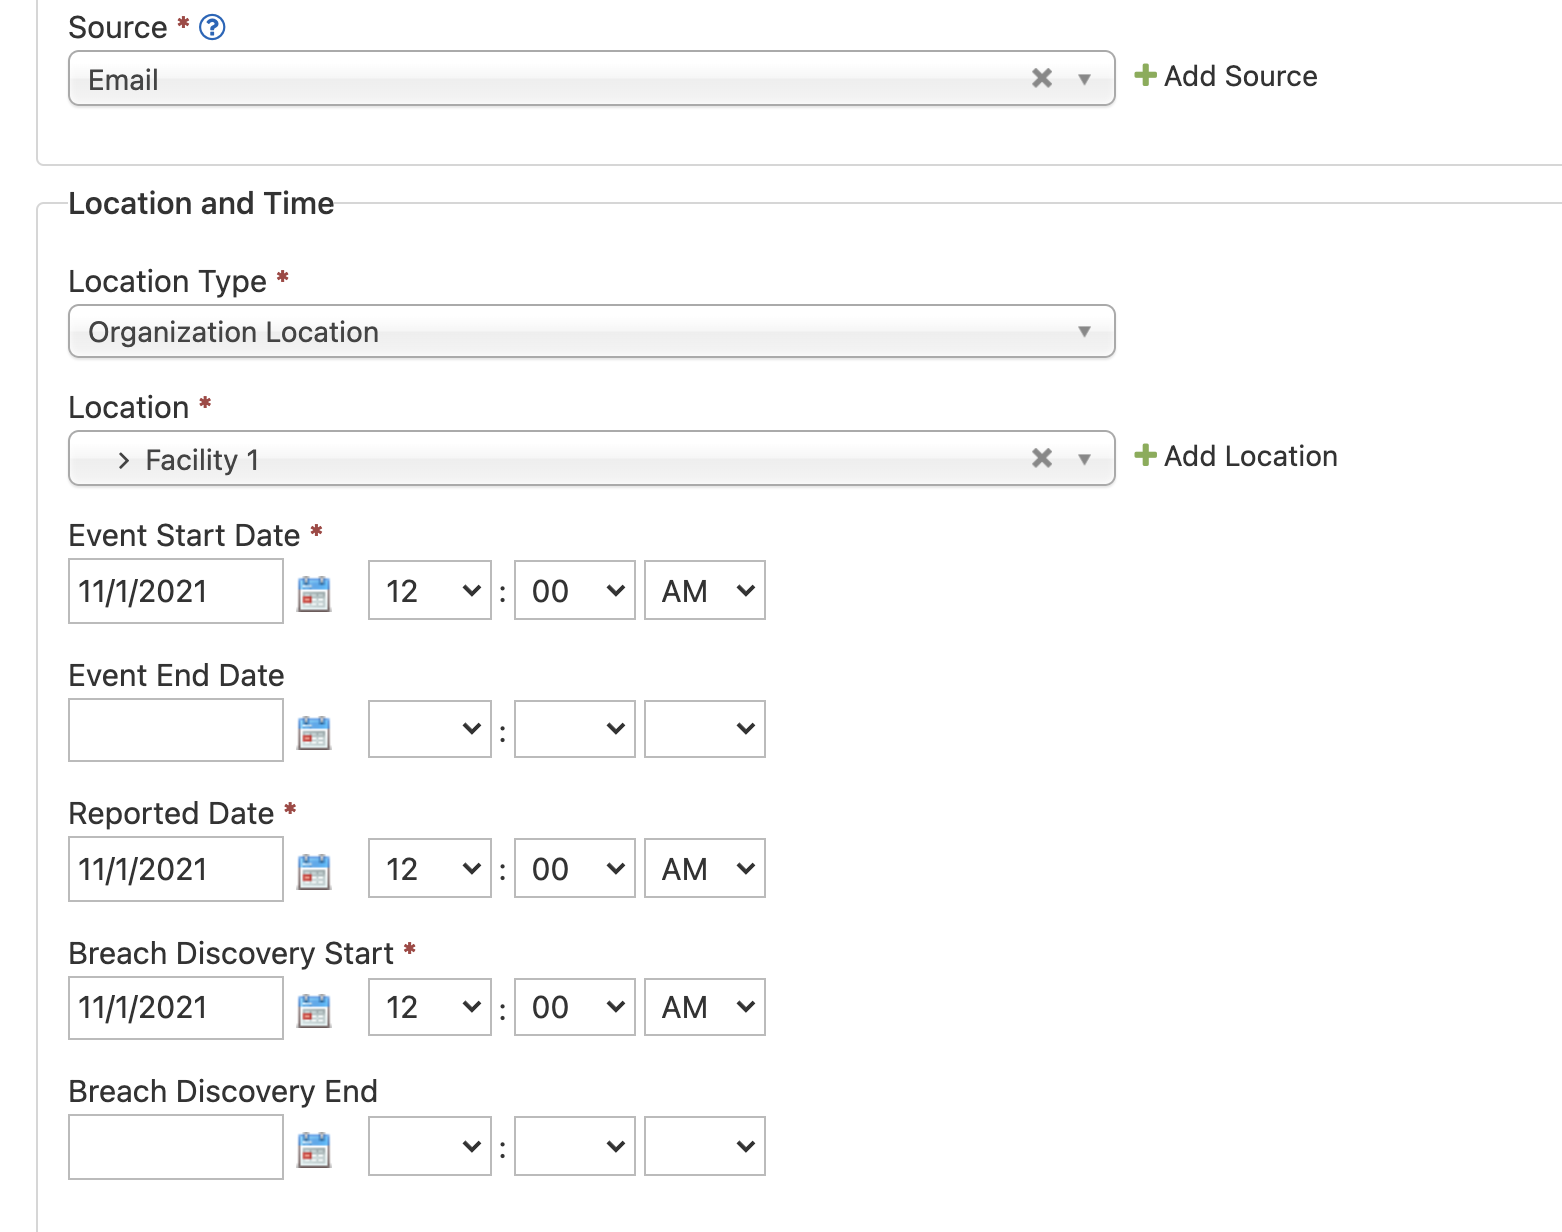
- Add all relevant details for the Location and Time of the event. Choose a Location Type and Location. ComplyAssistant supports physical locations, third party locations, and software systems.
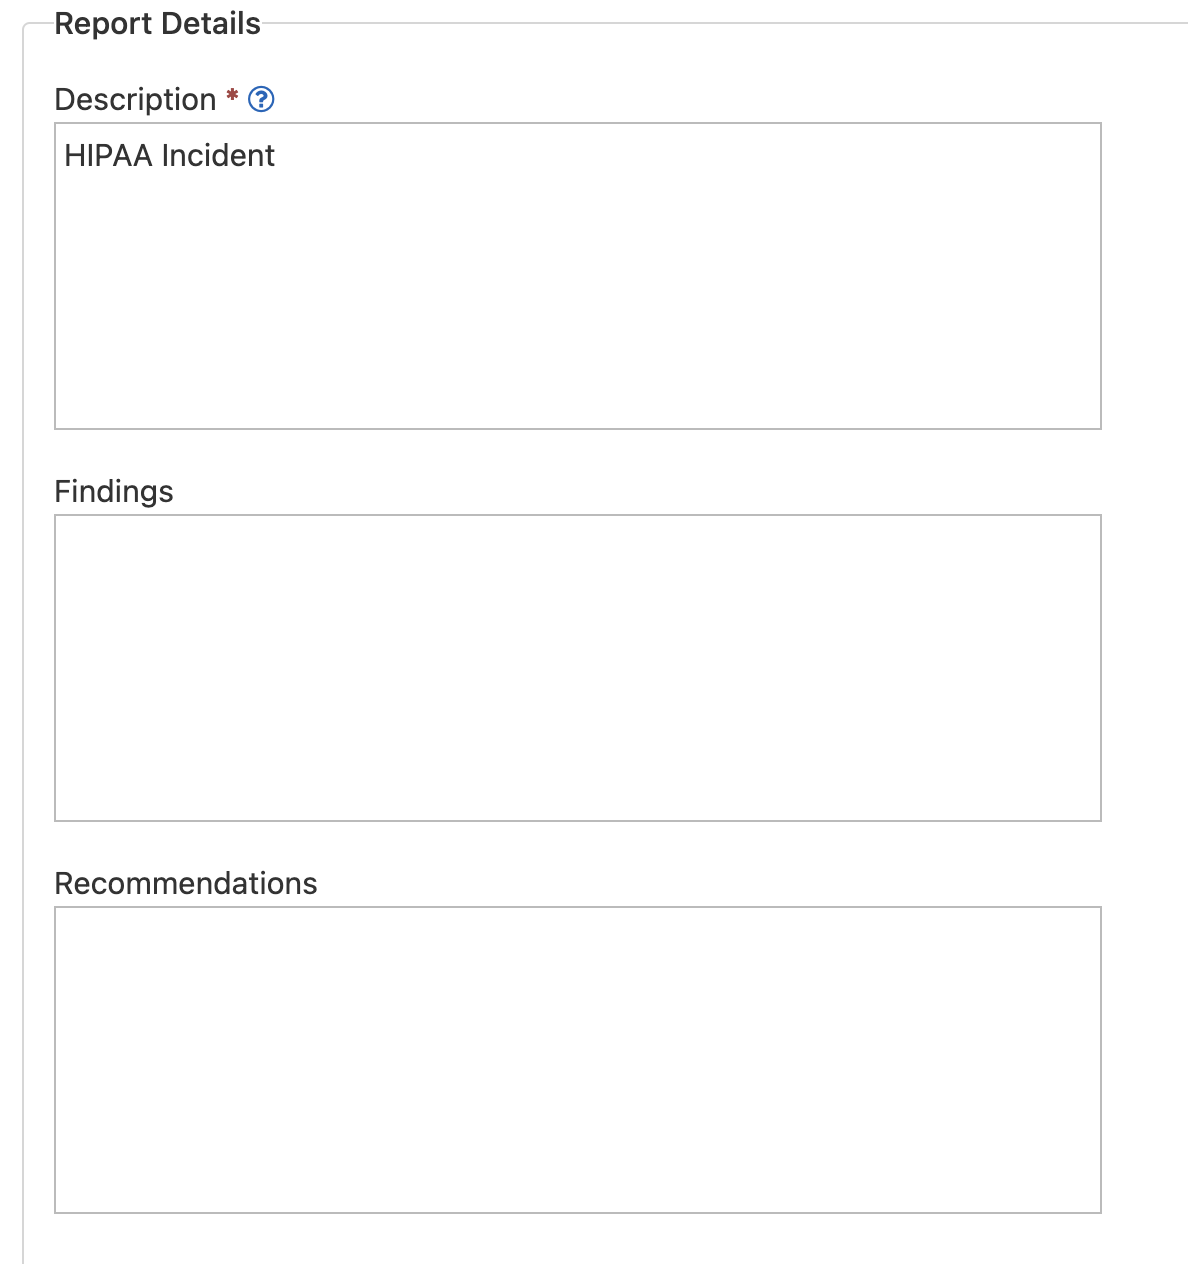
- Continue to the Report Details section. You must enter a Description, and it is important to describe how the breach occurred and the type of media involved in the breach. Optionally, add findings, recommendations, actions taken, and additional comments.
- If a notification has been sent, enter the details in the Notification section.
- Email notifications — You can send notification to all users by checking the All Users box. Or, uncheck that box and choose specific users to whom you want email messages sent.
- If you have files to attach, click the Submit and Add Files button. Otherwise, click Submit.
- If the answer to the Potential Breach question was Yes, the Breach Questionnaire will begin. To assign the questionnaire to someone else, click the small Assign to someone else link.
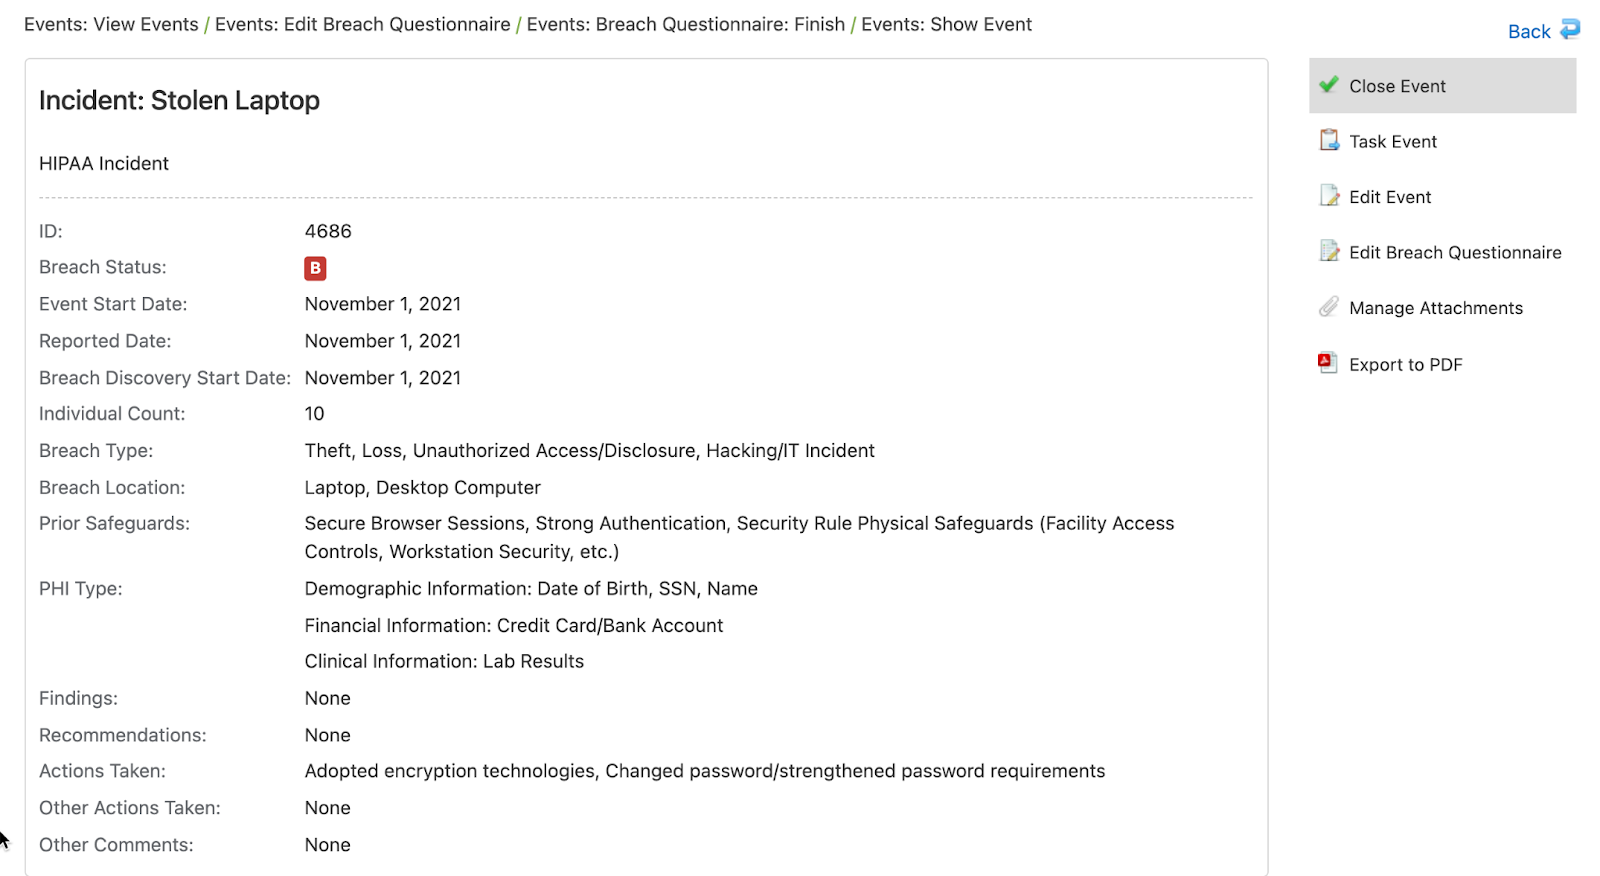
- Answer the breach questions and click the Continue button to move to the next question. At the last question, click Finish to view the Event page.


Related Articles
Create and Assign a Task
You can create a task and optionally assign it to one or more people. Besides creating general action items, you can create tasks related directly to other compliance items. See Types of Tasks in the Overview for more info. To create and assign a ...Edit an event
Go to the Events dashboard and choose the event you want to change. The event summary page will appear, which contains several links in the upper-right corner. There are several ways to modify an event: Edit the event — make changes to the event in a ...Events Dashboard
On the Events dashboard, you can import an event, export an event, and filter the events list. Import an event Importing an event involves downloading and completing a CSV template. The template is editable in Microsoft Excel and other spreadsheet ...Create an Audit Definition
In the Audit feature, you can manage government regulations with pre-packaged and customizable audit definitions. The workflow is simple: create an audit definition, assign the audit, and complete the audit (using the mobile app, if applicable). ...Create a question library
A question library is a set of questions that can be reused across many assessments. A question may also feature a question reference and question mapping. Types of question libraries: System defined — you can use any of these libraries or clone a ...