Third Parties and Contacts
Another part of the settings gives you the ability to manage third-party entities and contacts. These contacts will appear in other places in ComplyAssistant, such as assigning assessments to a specific contact.
New Third Party
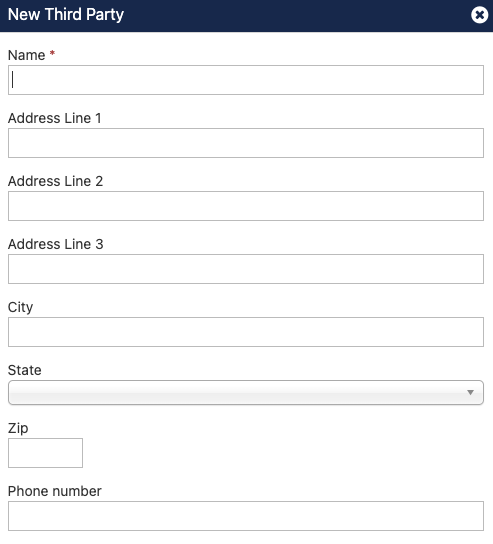
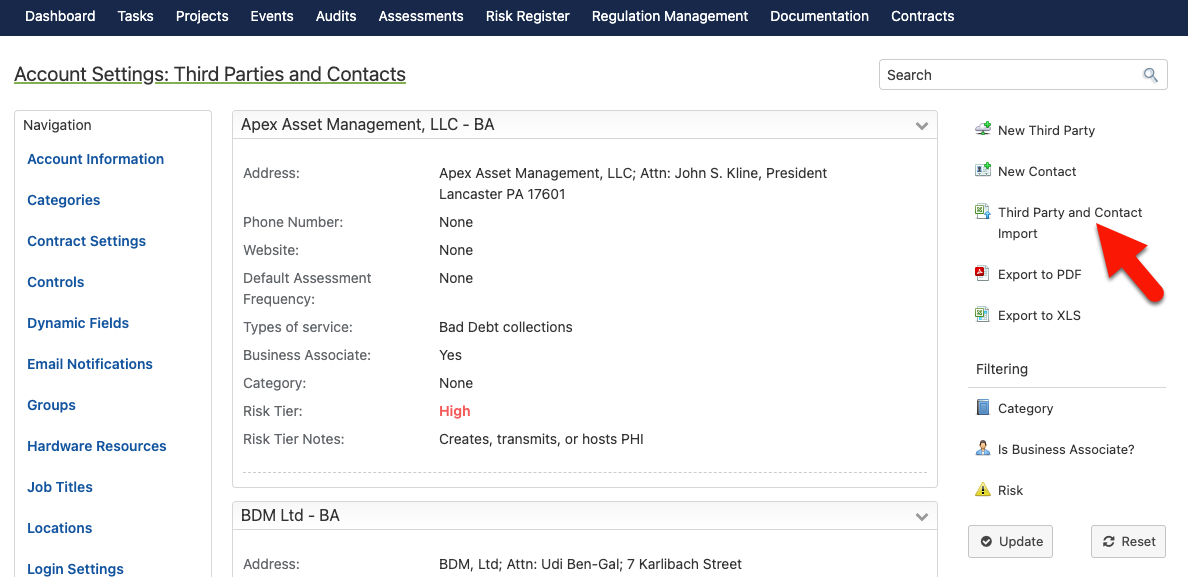
Click Third Parties and Contacts on the left side of the page and, on the Third Parties and Contacts page, click the New Third Party link on the right side of the page.
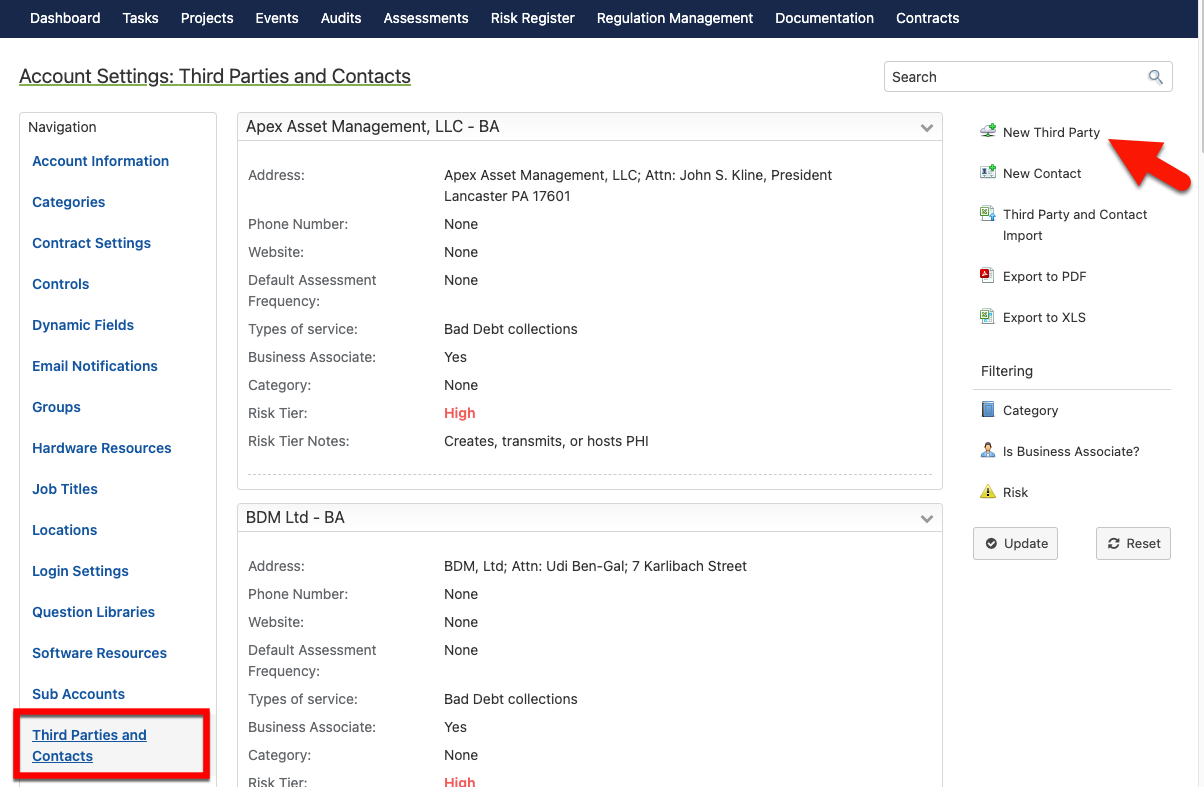
In the popup window, complete the mandatory fields and scroll to the bottom. Click the Submit button and then look for the new third party to appear in the list.
New Contact
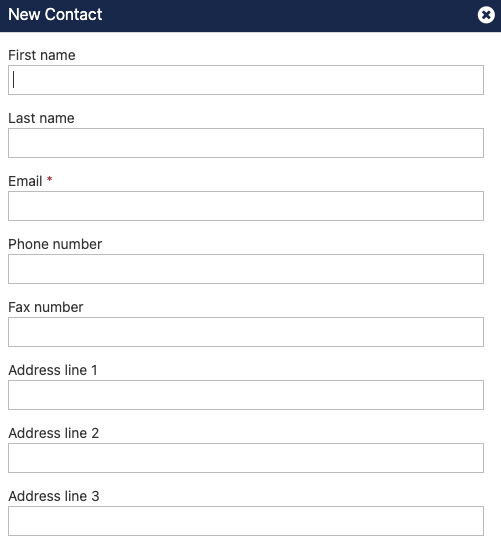
Click Third Parties and Contacts on the left side of the page and, on the Third Parties and Contacts page, click the New Contact link on the right side of the page.

In the popup window, complete the mandatory fields and scroll to the bottom. Of course, it is essential to choose a Third Party. When complete, click the Submit button.
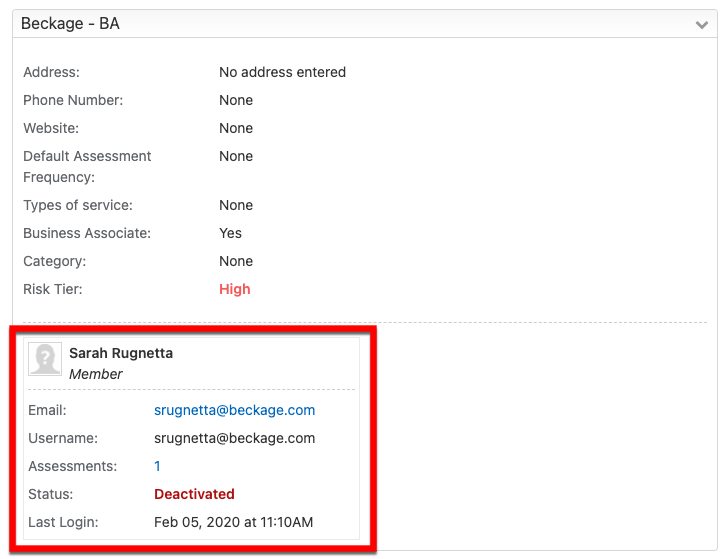
In the third party list, look for the new contact to appear in the card for the third party that you chose in the popup window.
Third Party and Contact Import
If you have many contacts to add to ComplyAssistant, you can import those contacts more efficiently.
Click Third Parties and Contacts on the left side of the page and click the Third Party and Contact Import link on the right side of the page.
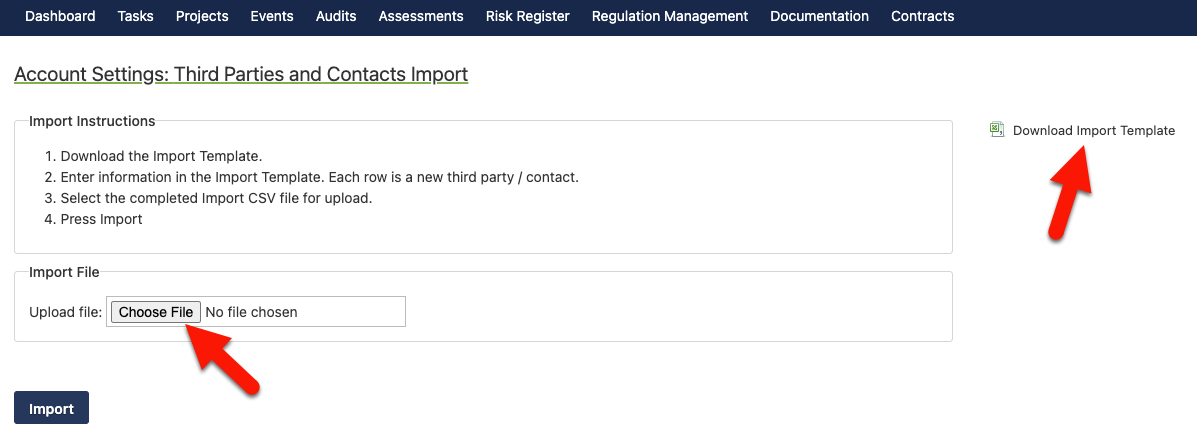
On the Import page:
Click the Download the Import Template link on the right side of the page. See the figure below.
Locate this file in the Downloads folder of your computer and open it. Type information into the columns of the template, or paste it from another location.
NOTE: The columns in the template correspond to the fields in the New Contact popup window (see above).Continue adding one additional row per contact. For multiple contacts in the same third party, you can save effort by copy-and-pasting any repetitive third party information in the leftmost columns.
Save the template with a meaningful filename.
Back on the Import page, click the Choose File button and locate the file.
Click open and wait for the file to upload.
Click the Import button.
Return to the Third Parties and Contact list to see your updates.

Related Articles
Software Resources
Here, you can catalog the software for each location. To add a new resource, click the New Software Resource link on the right side of the page. Complete the form, adding Locations, Third Parties, Hardware Resources, or Users if necessary. Remember ...Define an Owner and Plan for Registered Threats
You can assign an Owner to manage each registered Threat and the Plan of action. Assign an Owner to a Registered Threat To assign an Owner, select a Registered Threat. Select from the dropdown beside the icon of a person. Only users assigned the Risk ...Overview of Assessments
To create your first assessment definition, your account must have at least one question library. Contact ComplyAssistant if you want to use a system-defined question library. Types of Assessments There are several types of assessments. Internally ...Performing an Audit
After creating a new audit definition, you’ll see the basic definition on the next page. From there, you can: Assign the audit Add an audit report Manage attachments Complete the audit. Assign the audit Follow these steps to assign an audit: In the ...Introduction to ComplyAssistant
A modern organization cannot afford to focus only on compliance. It is necessary to create and maintain a strategy that includes governance, risk and compliance (GRC). ComplyAssistant enables organizations to easily compile and review data that ...